If you feel like it’s too early to start working on Christmas decorations, think again. You aren’t crazy busy yet, there are still holiday supplies, believe me, they go early, and you will be so relaxed in December when everything is done. You will actually enjoy your family time! Trust me! It’s the perfect time!
The supplies for this project are plastic bowls from Dollar Tree or anywhere you shop that has pretty plastic bowls. You will need 2 identical ones for each ornament. I used E6000 to glue them together. White and black spray paint. I used Krylon Fusion matte black and Rust-Oleum 2X blossom white satin. I did not prime these before painting and it was still great coverage. Rub and Buff in whatever color you prefer and paint in whatever color you like. I got mine on Amazon. I used Apple Barrel Tapestry Wine, Delta Chocolate Cherry and Folk Art Green Forest. You will need something for the cap on each ornament. I’ve seen small plastic ramekins used or bowls. I found these metal bowls or containers at Goodwill for a couple of dollars that were perfect for the top cap.
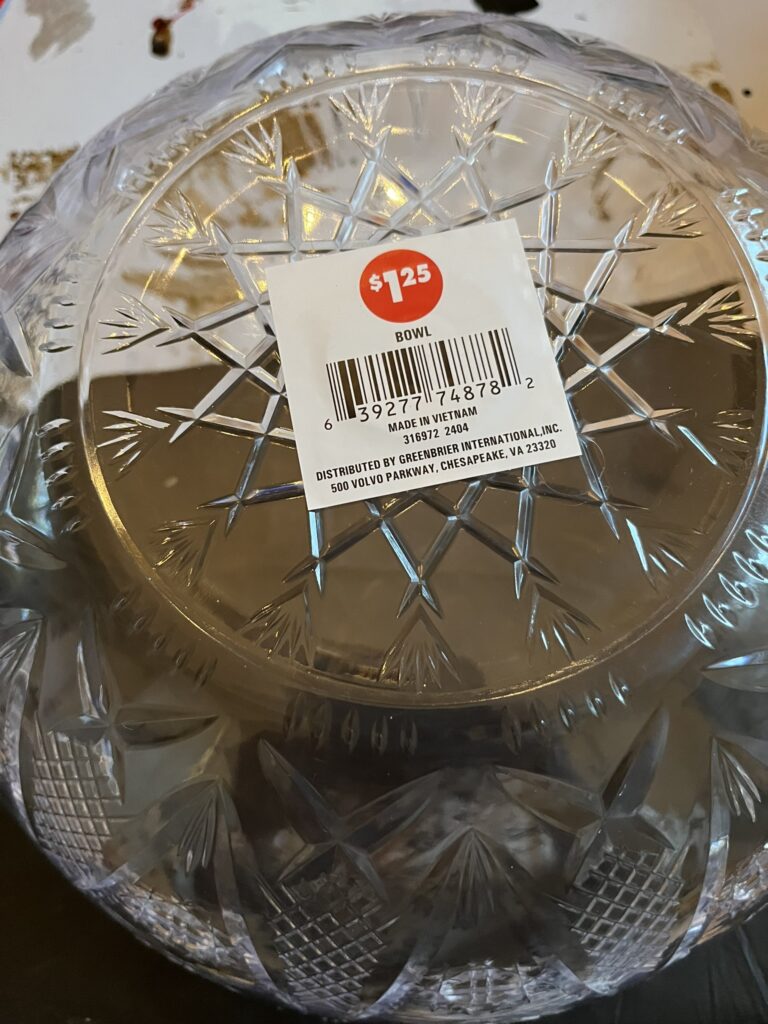
Dollar Tree plastic bowls make this a budget friendly decoration.
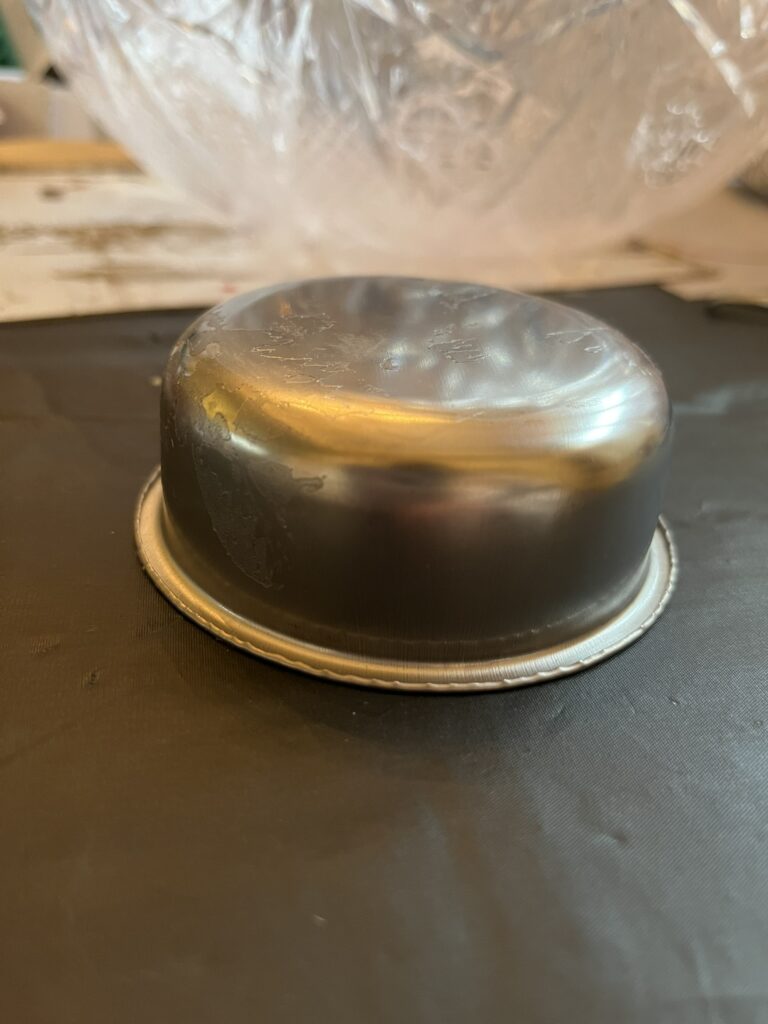
I’ve been seeing these big ornaments on Pinterest so I thought I would try it out. As I was looking at the tutorials I noticed they were painting before gluing them together. I decided gluing first will look more finished so that’s what I did.
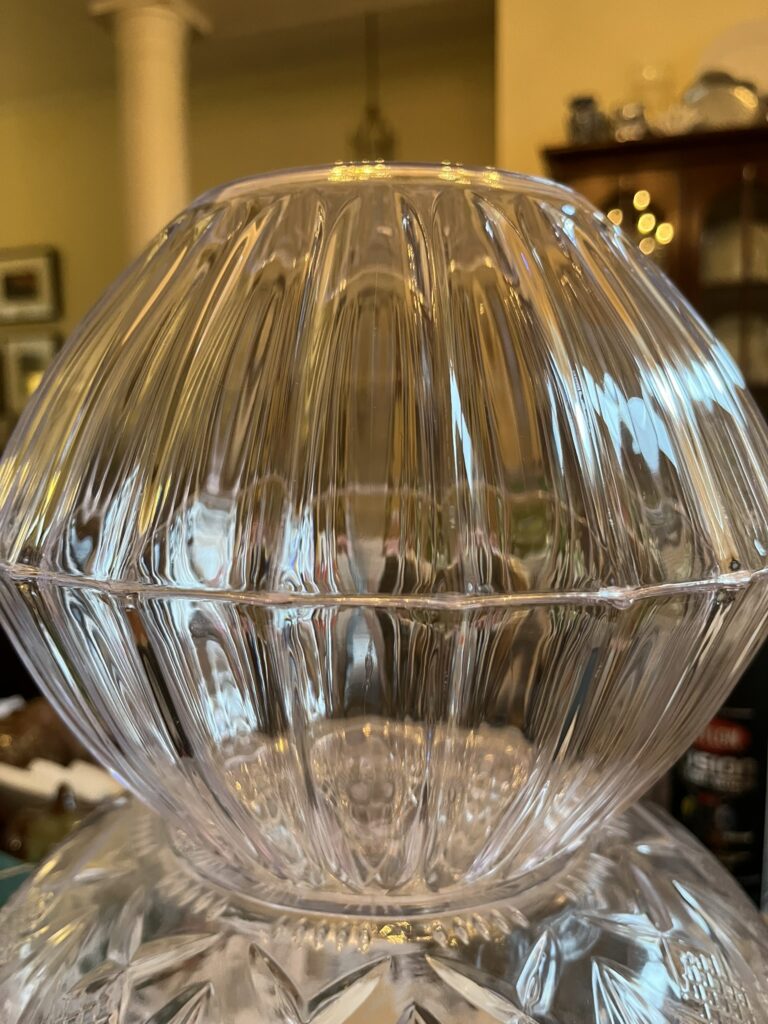
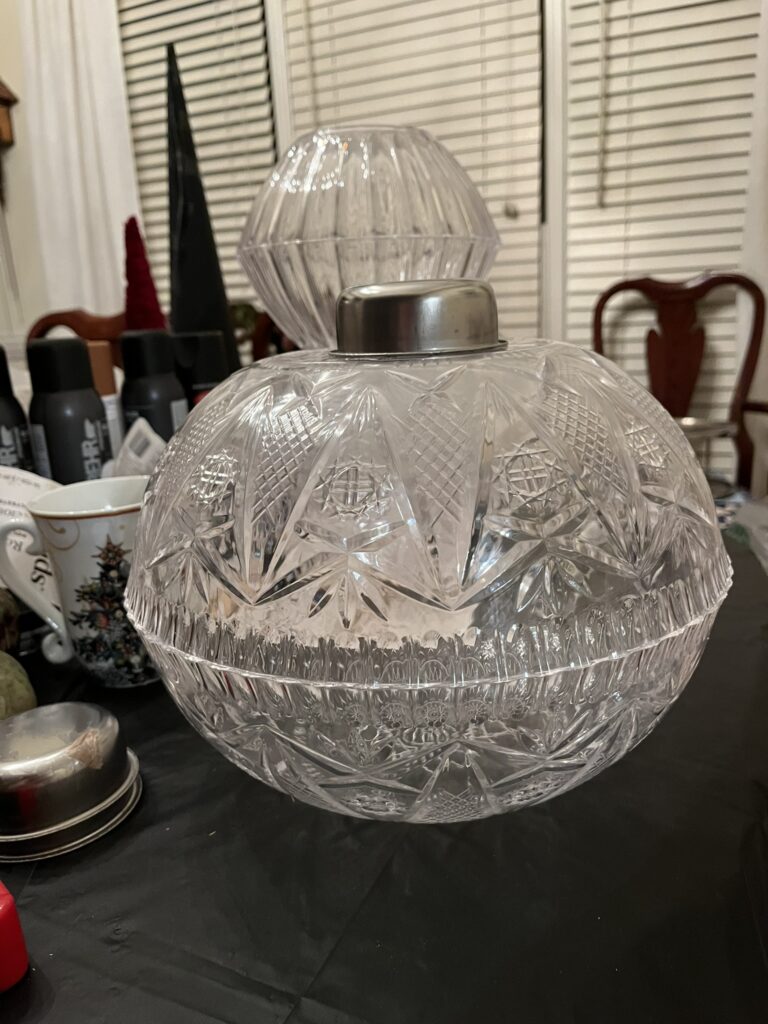
Plastic bowls glued together and I’m sizing up the caps. Perfect!
Gluing the bowls together is the first step, making sure they are lined up perfectly. So I would have a strong bond, I used E6000 and let my ornaments dry overnight. If you have any glue ooze out wipe it now. We are going for a finished, high end look so details matter.
After the glue dried, I spray painted some of my ornaments white and some black, depending on how I was planning on finishing them. I just sprayed one half, after it dried, flipped it over and sprayed the other half. Easy! If you are using all light colors, stick to white as your base. I haven’t seen any pink ones but it would be so cute.
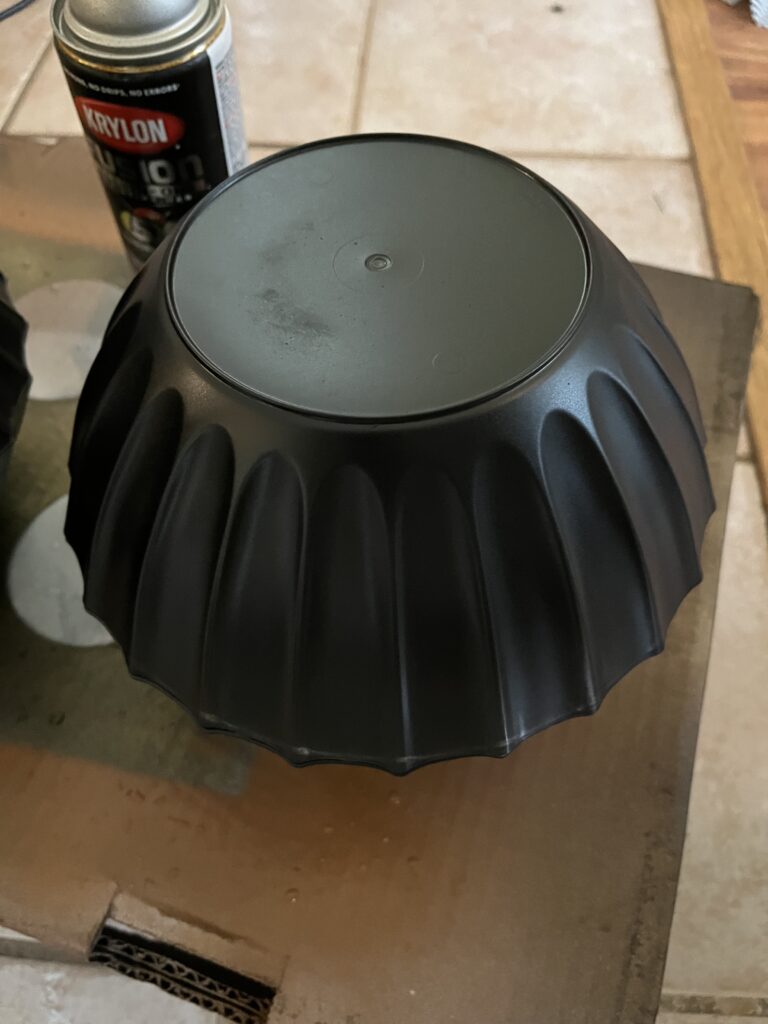
Painted matte black.
I noticed people that had not glued their halves together before painting drilled a hole through the top of their cap and one of the bowls so they could thread the hanger through. Don’t do it! Many of the bowls cracked when they drilled. We are not doing it that way.
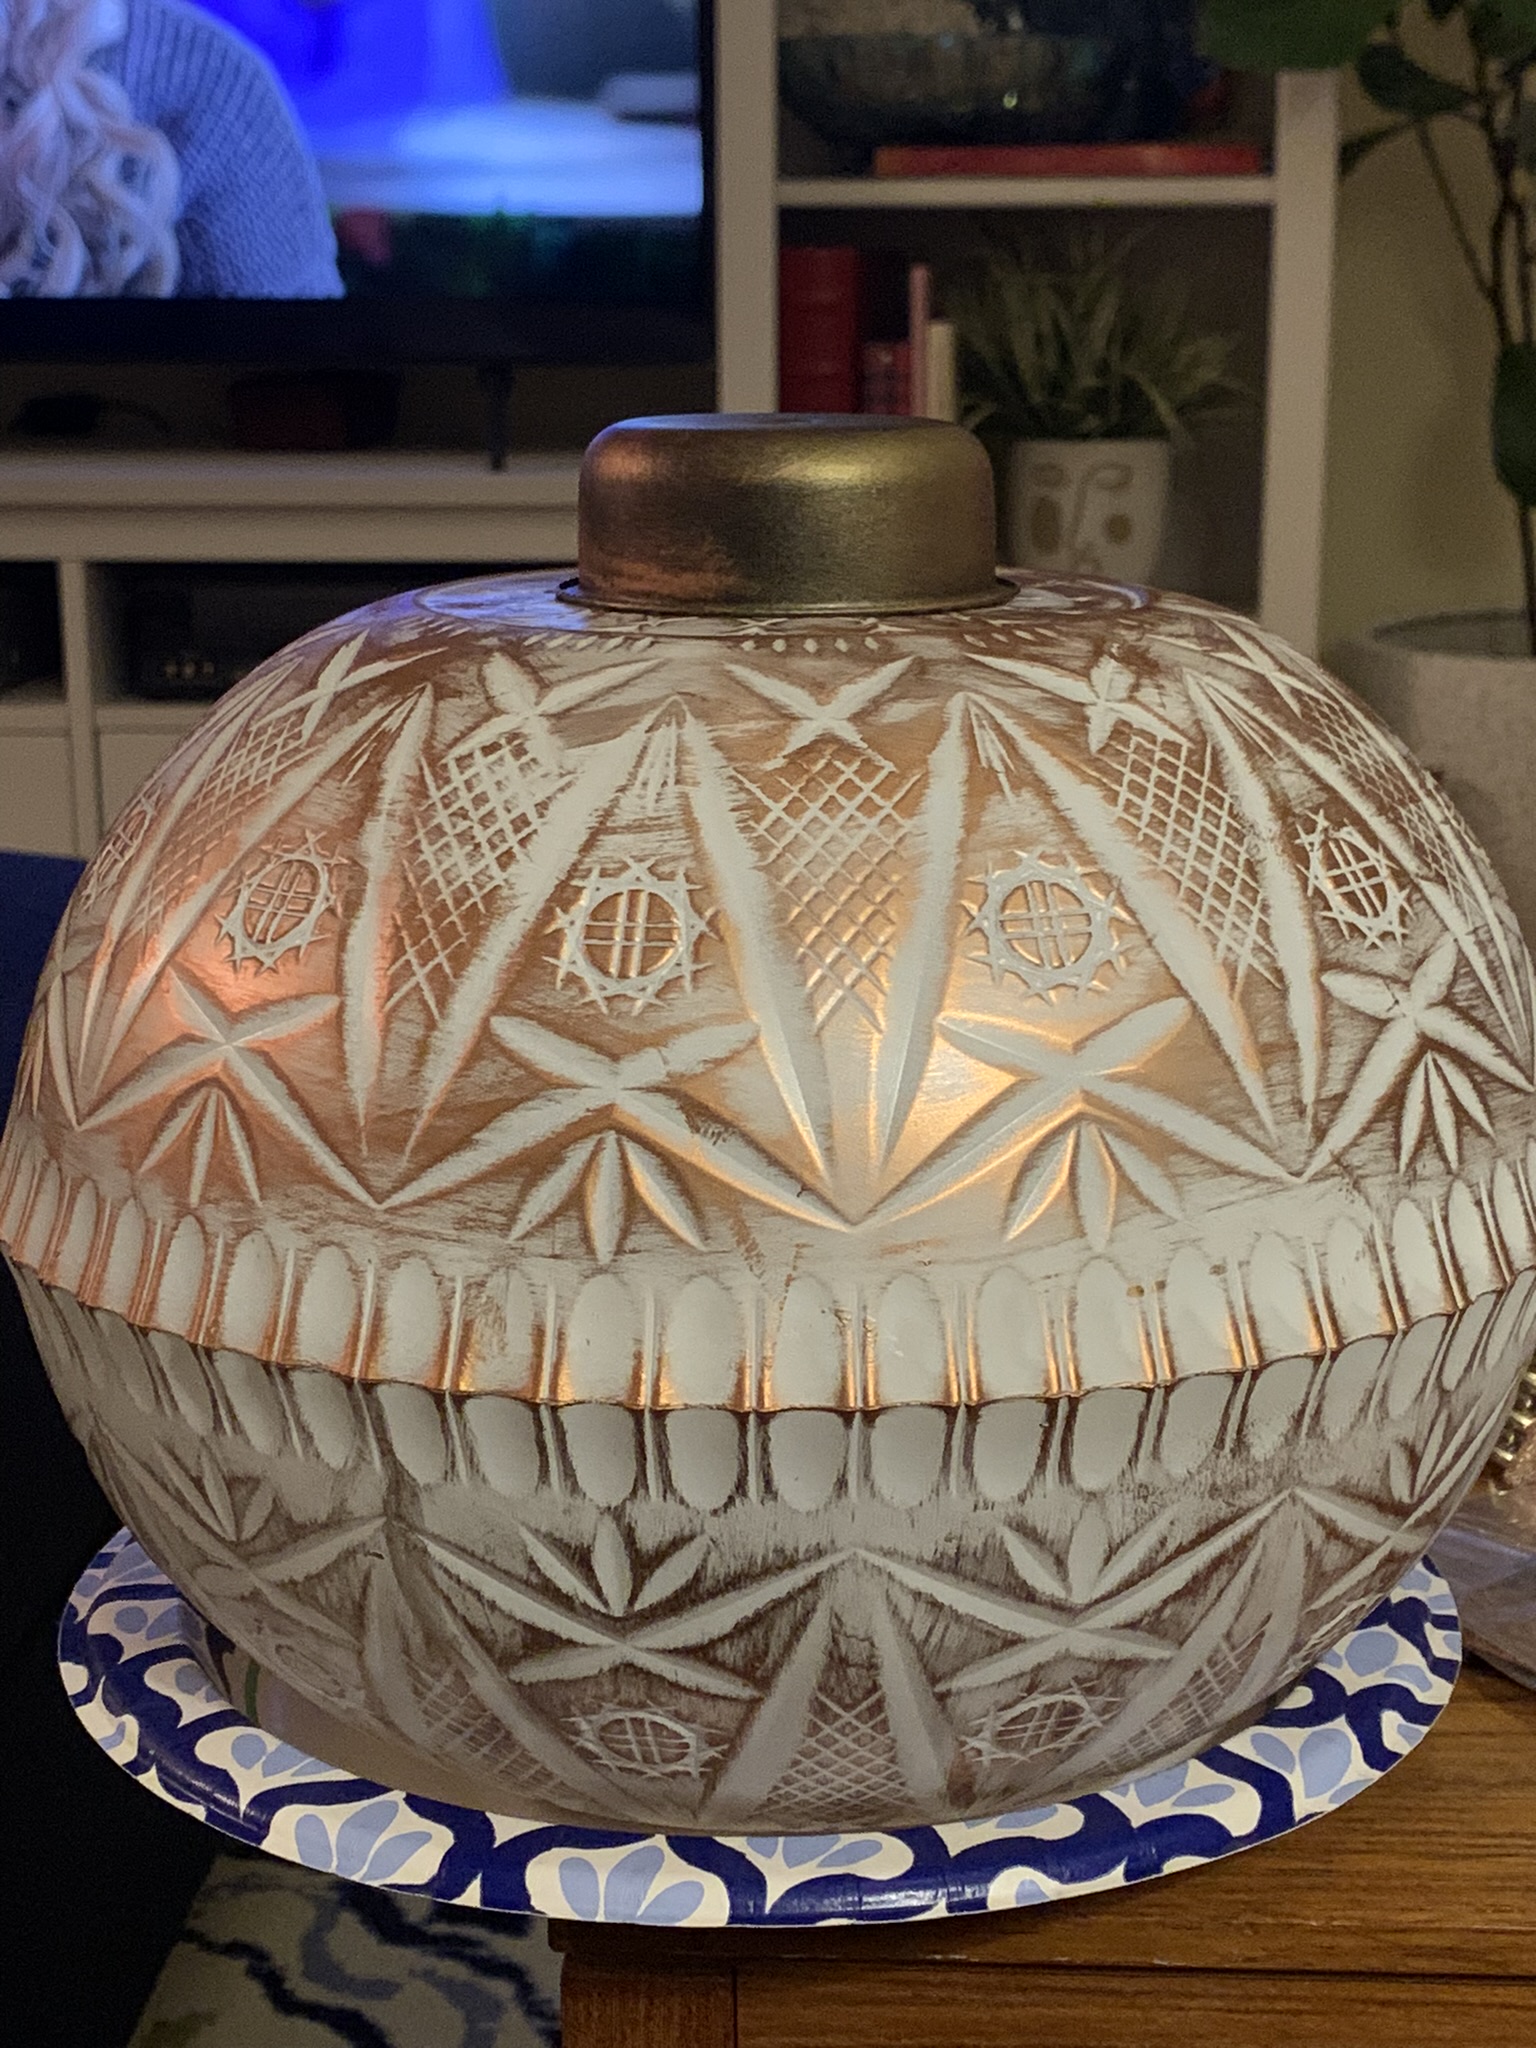
The white ornaments were decorated with the Rub and Buff. I used a foam brush which made it easy to show off the beautiful details.
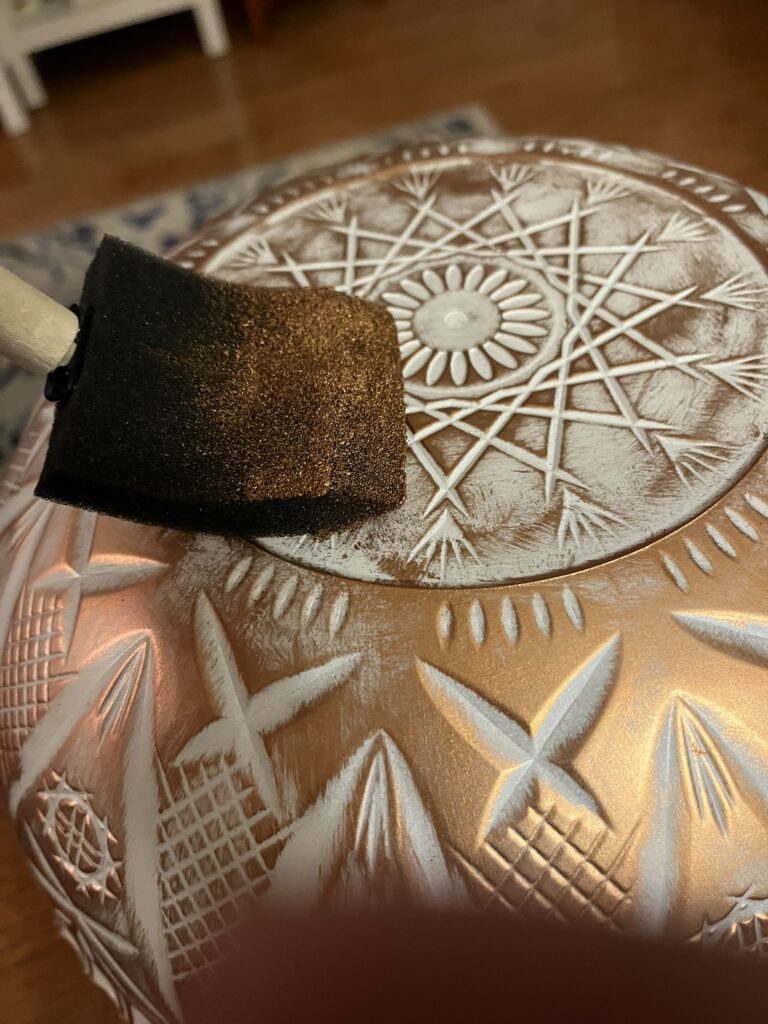
Adding Rub and Buff with a foam brush made it easy!
The black ornaments were painted with a matte finish so I would be able to paint them with an acrylic paint in rich wine or a deep green color. Then I added some Rub and Buff. Another beautiful color combination would be white and silver with a dark blue. Keep in mind, this is how I did it to match my Christmas colors. You can do whatever goes with your vision.
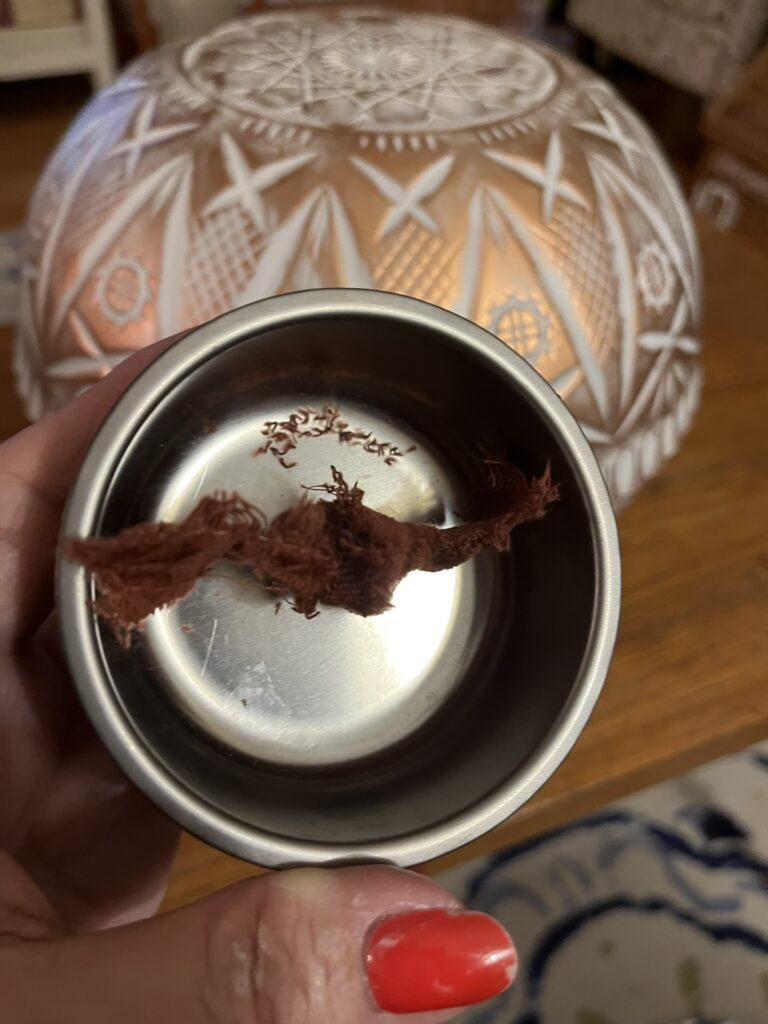
To prepare the caps, I drilled 2 holes into each cap. After that, I painted them black and then lightly sprayed with gold. Let them dry completely and touch up with Rub and Buff if needed. I ordered a set of colors from Amazon. I use them all the time so the variety of colors really helps.
-
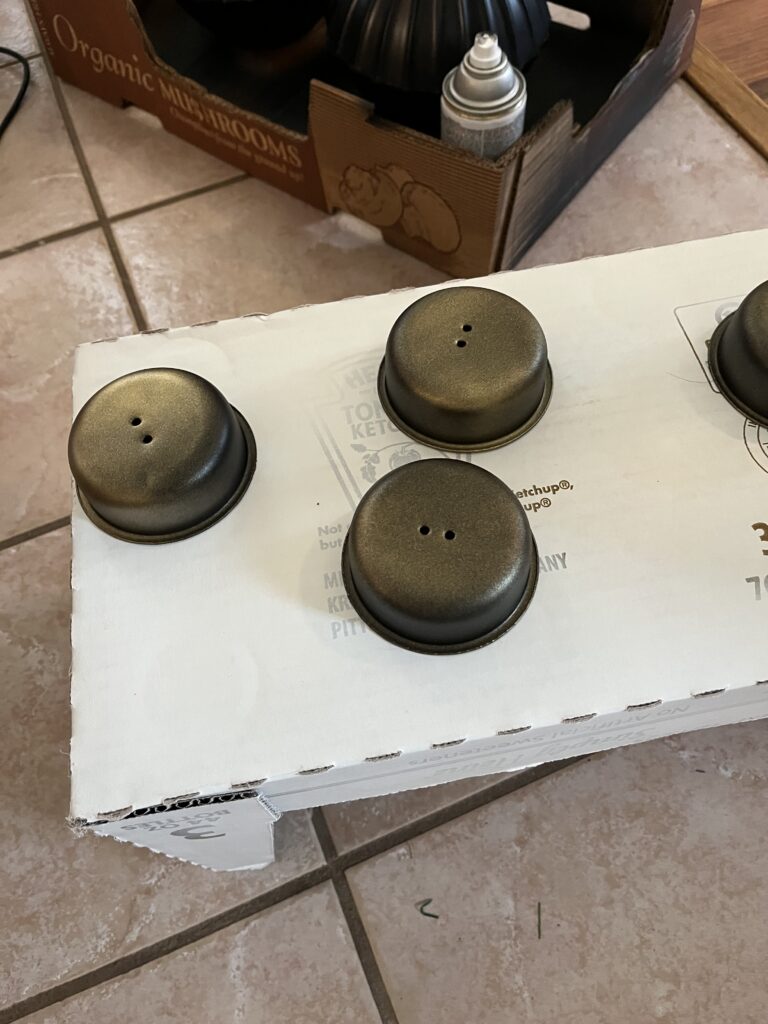
Painted caps
To complete the ornament, string ribbon or twine into the holes, tie the two ends together on the inside and glue the cap onto your ornament with E6000. With the 2 holes your knot won’t accidentally pop out through the single hole, especially if you are using twine for your hanger. Let your ornament dry overnight and embellish with greenery, bells, berries or whatever fits your decorating style.
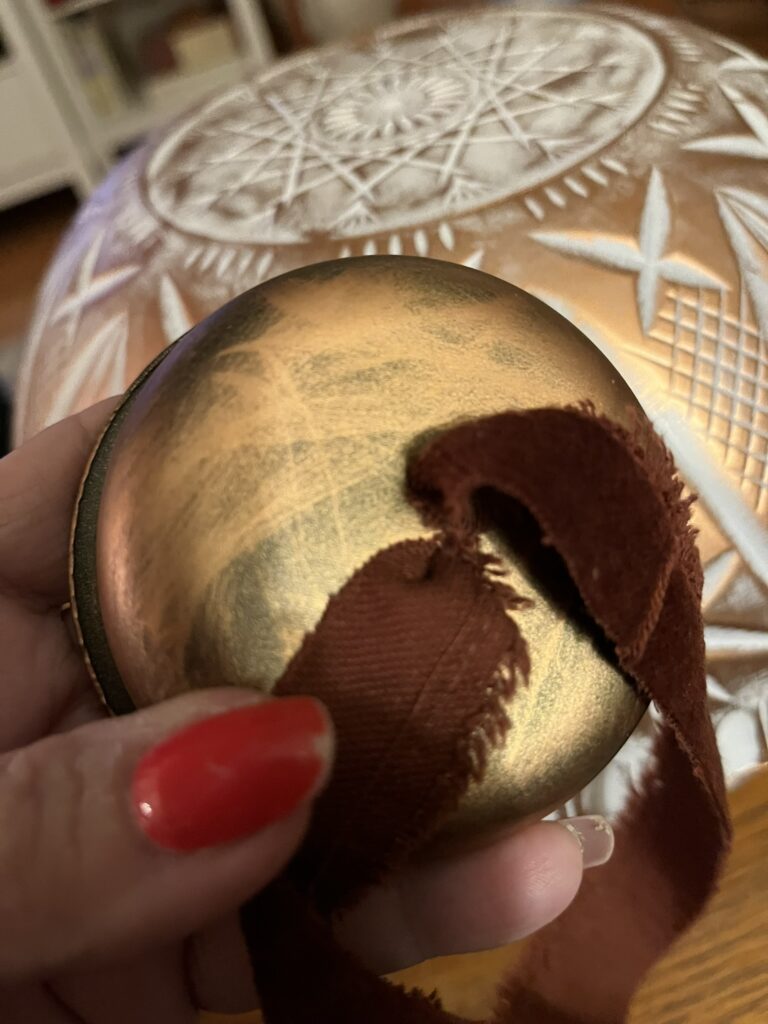
Ribbon pushed through the holes.
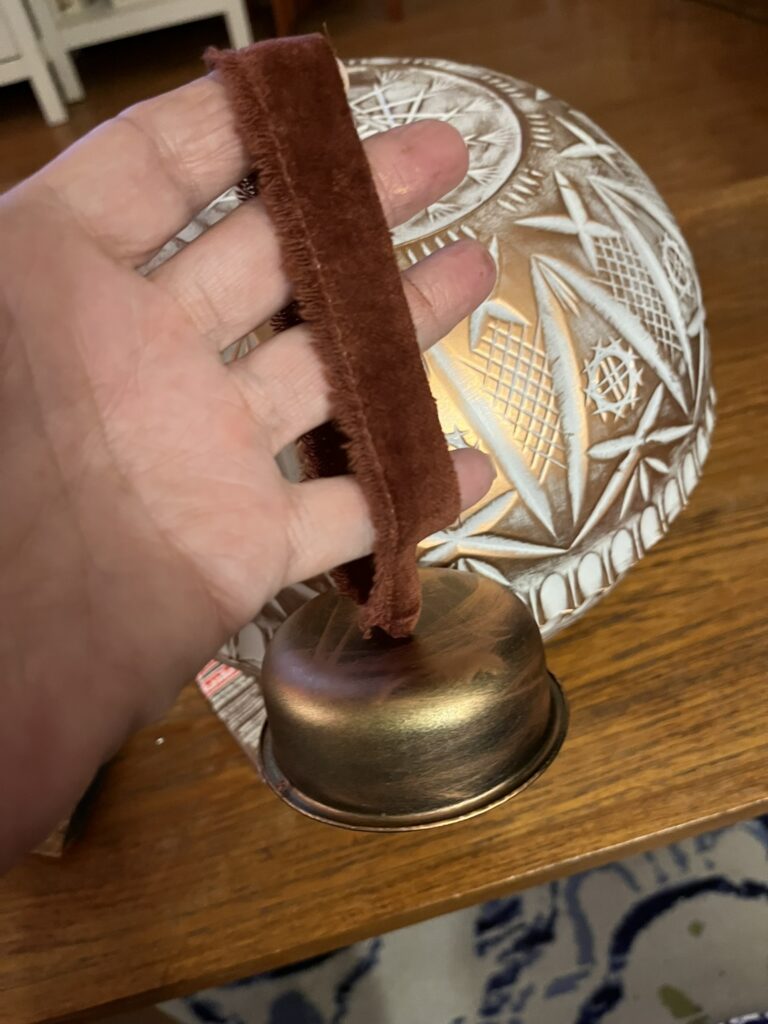
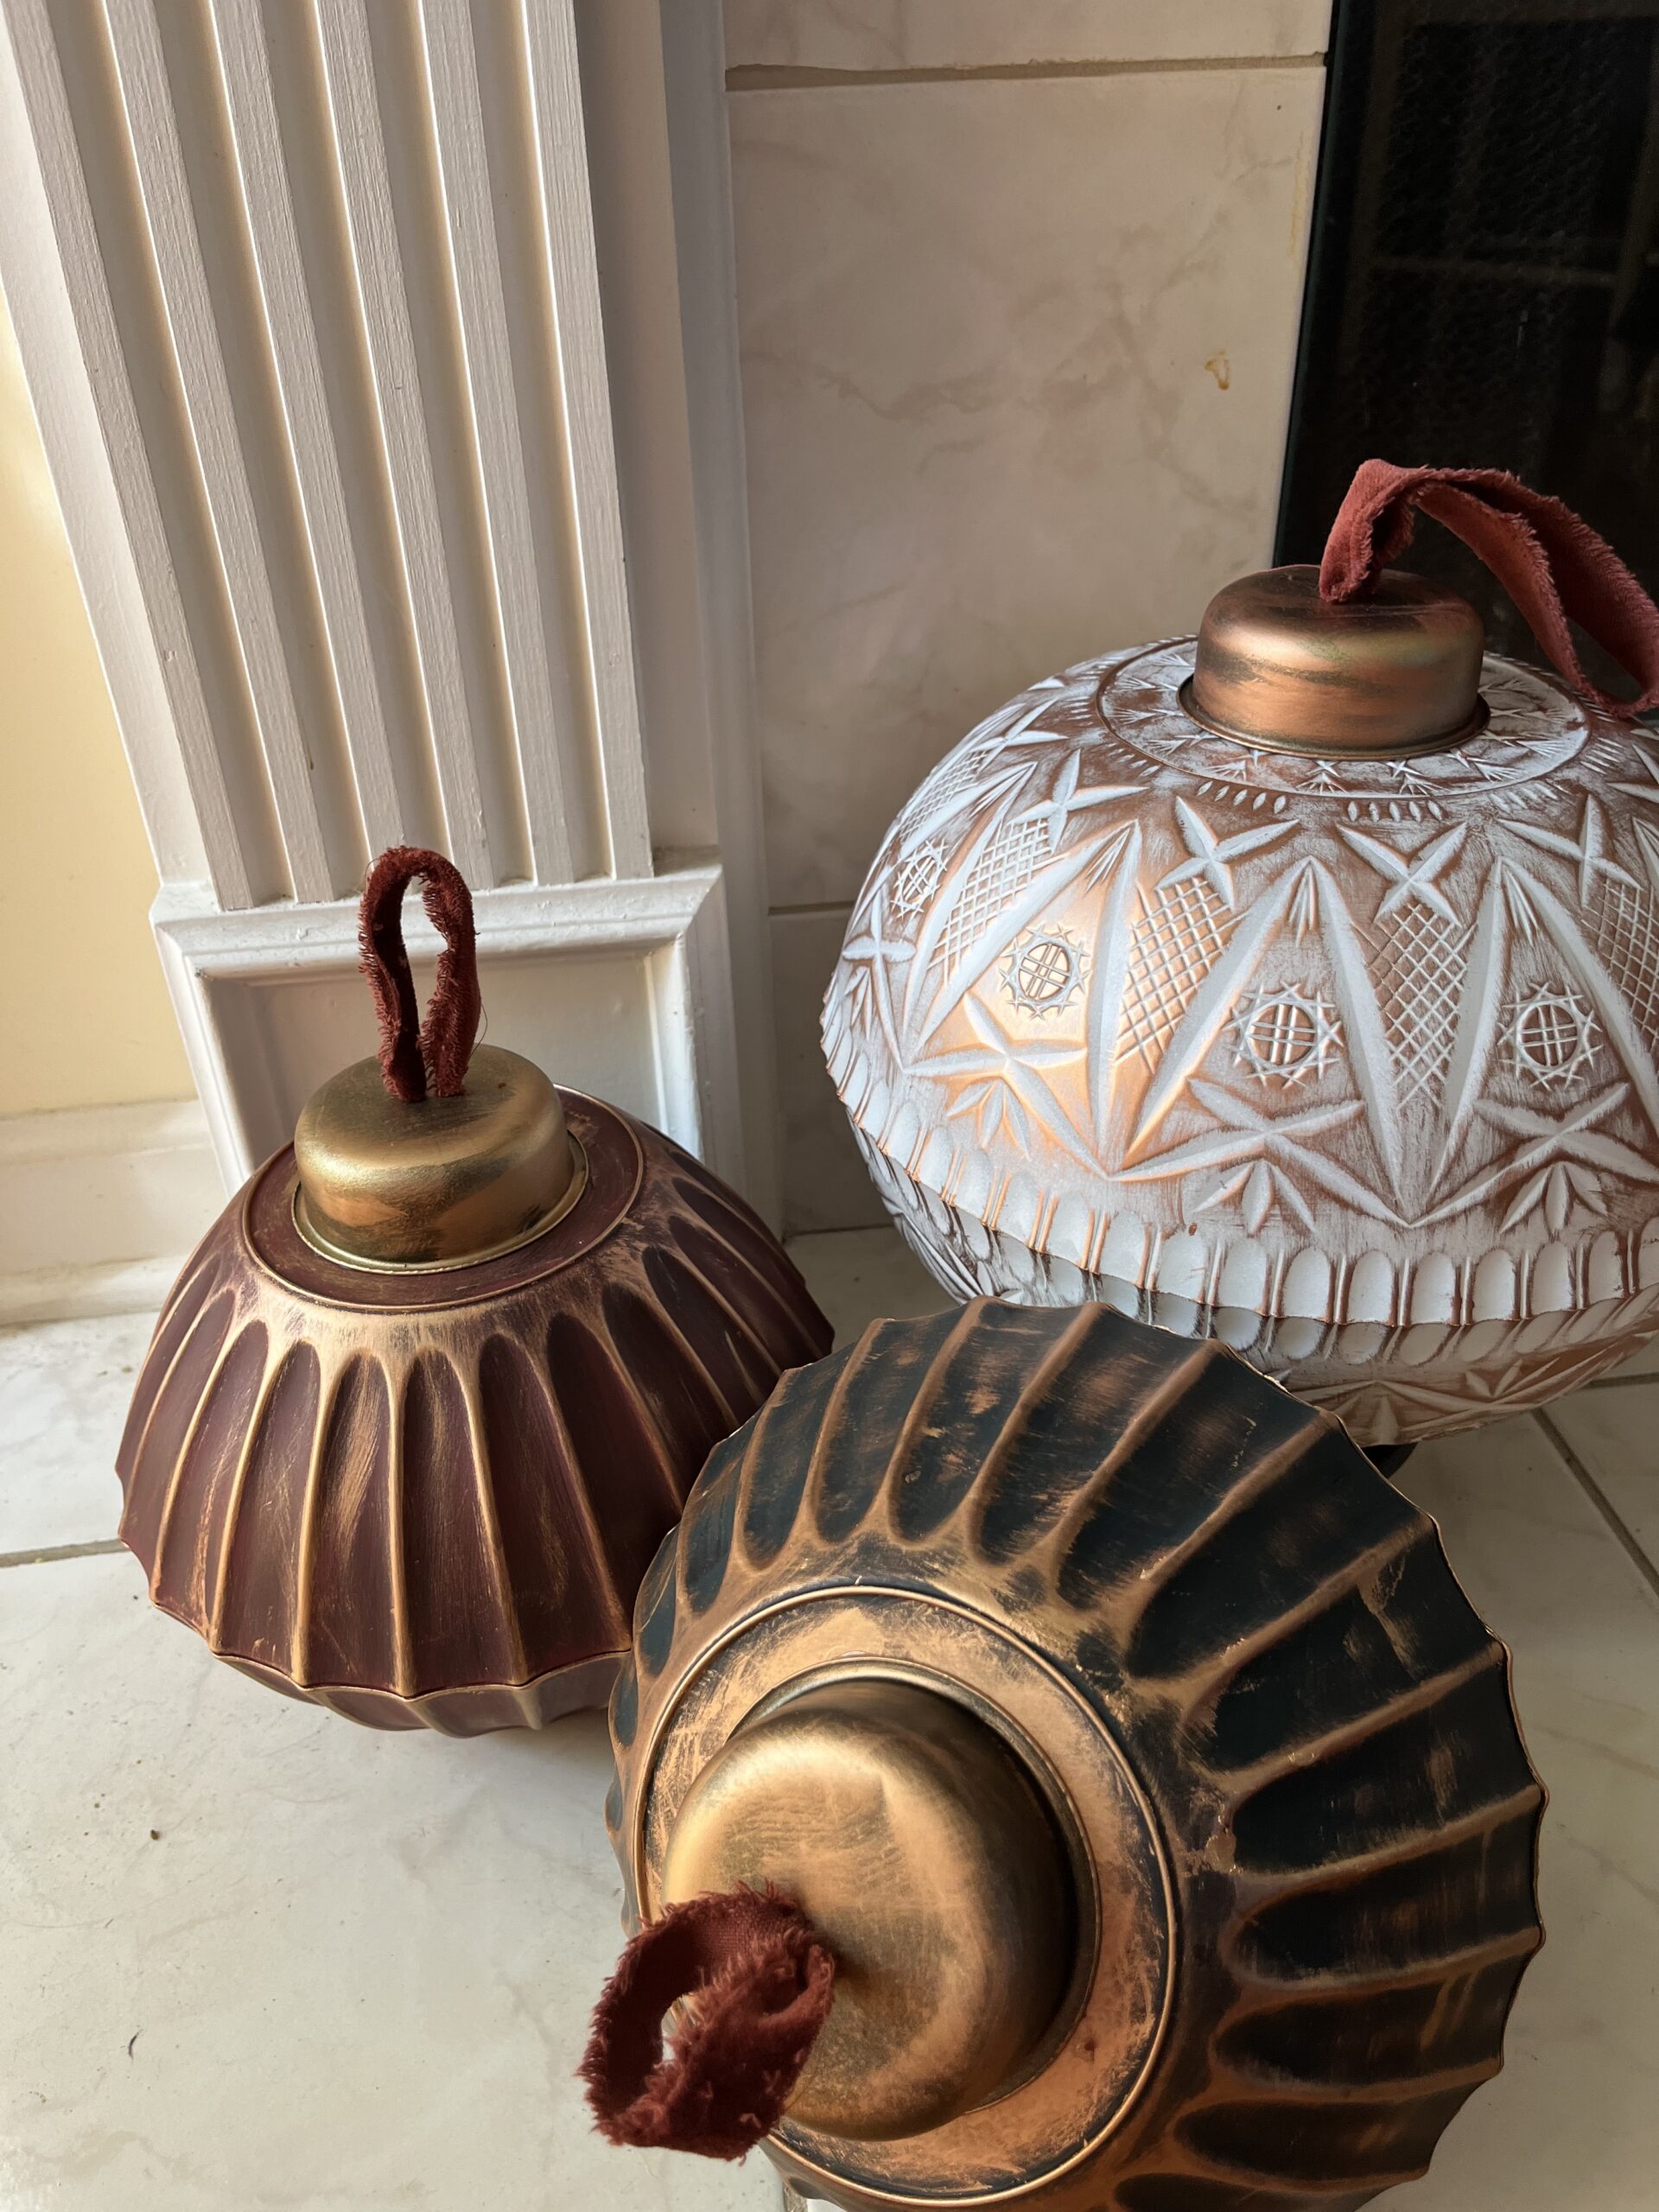
These ornaments were so much fun to make. I was honestly surprised at how nice they came out. You would never know they are plastic by just looking at them.
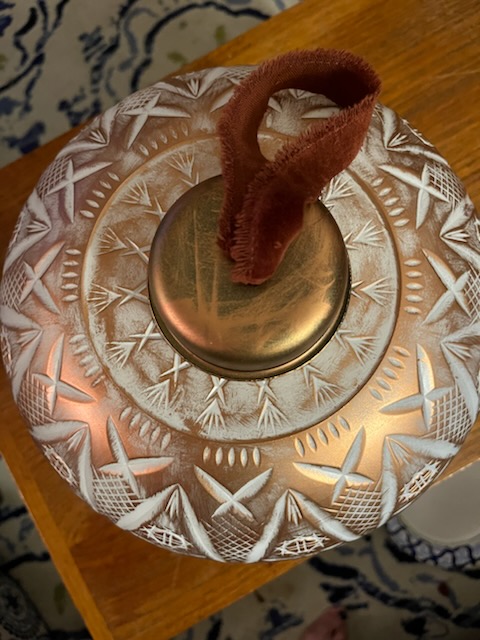
View of top of ornament.
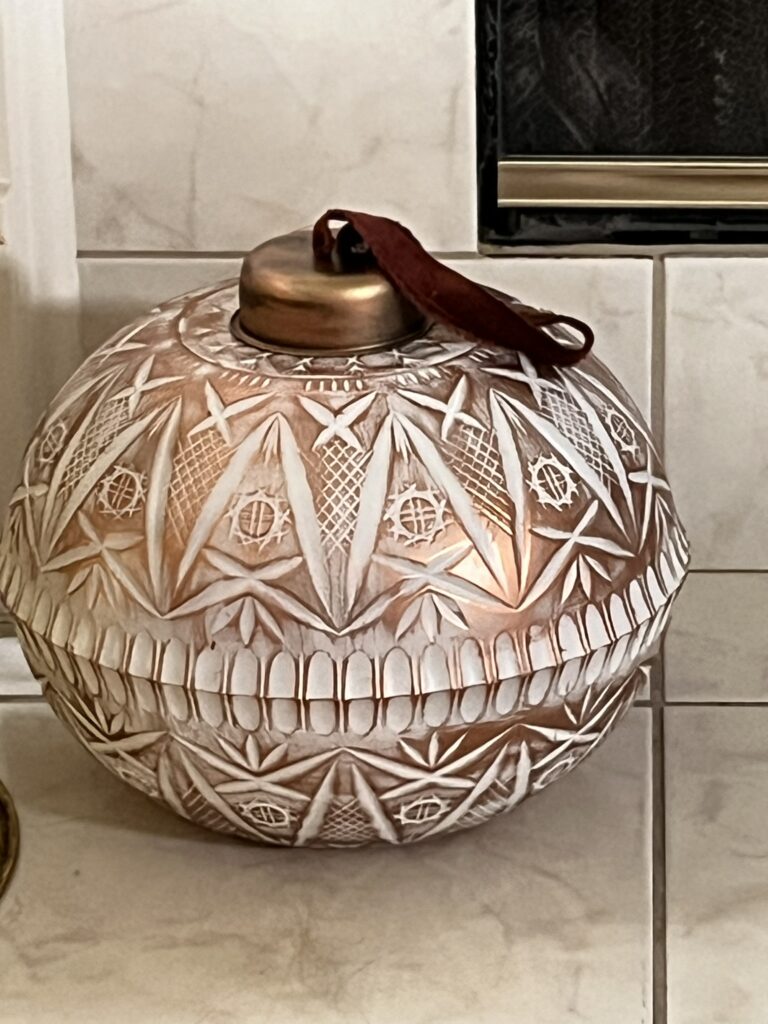
Finished ornament
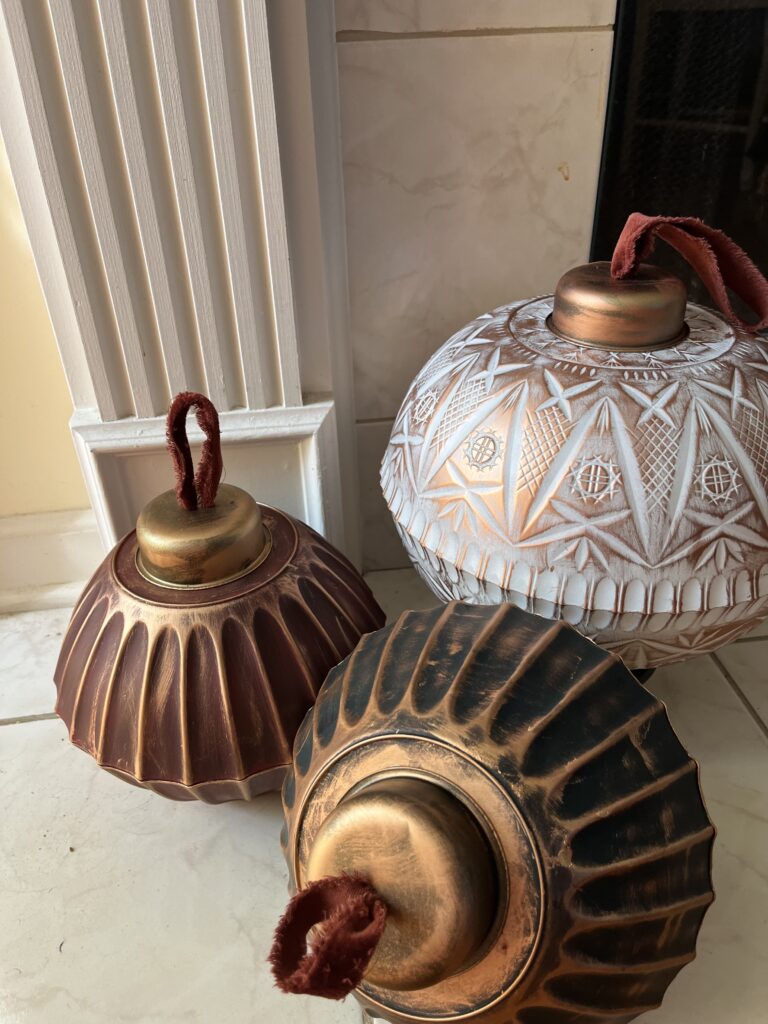
This project was so much fun and very easy. I was at Dollar Tree recently and they still had lots of bowls. I hope you try it. I’m still not sure where I will be using them since I really haven’t decorated for Christmas yet but, I definitely will. I just love how they came out.
Thank you for stopping by. If you like what you see please subscribe. I would appreciate it.
I wish you happy crafting and lots of Sunny Days!
This post may contain affiliate links from which I receive commissions at no cost to you.






Leave a Reply